


Finish Applied
March 23rd, 2009 . by CaryI’m going about this part a little backward – I should have drilled the doors for the hinges before I started applying the stain, but sometimes you get in a groove and forget where you need to be…
The first step is to remove all the sanding dust (you did remember to sand everything down to a smooth finish, right?) since the fastest way to mash up a finish is to try to apply it over sanding dust. On smaller projects I would use a tack cloth, but the air hose took care of the dust this time around.
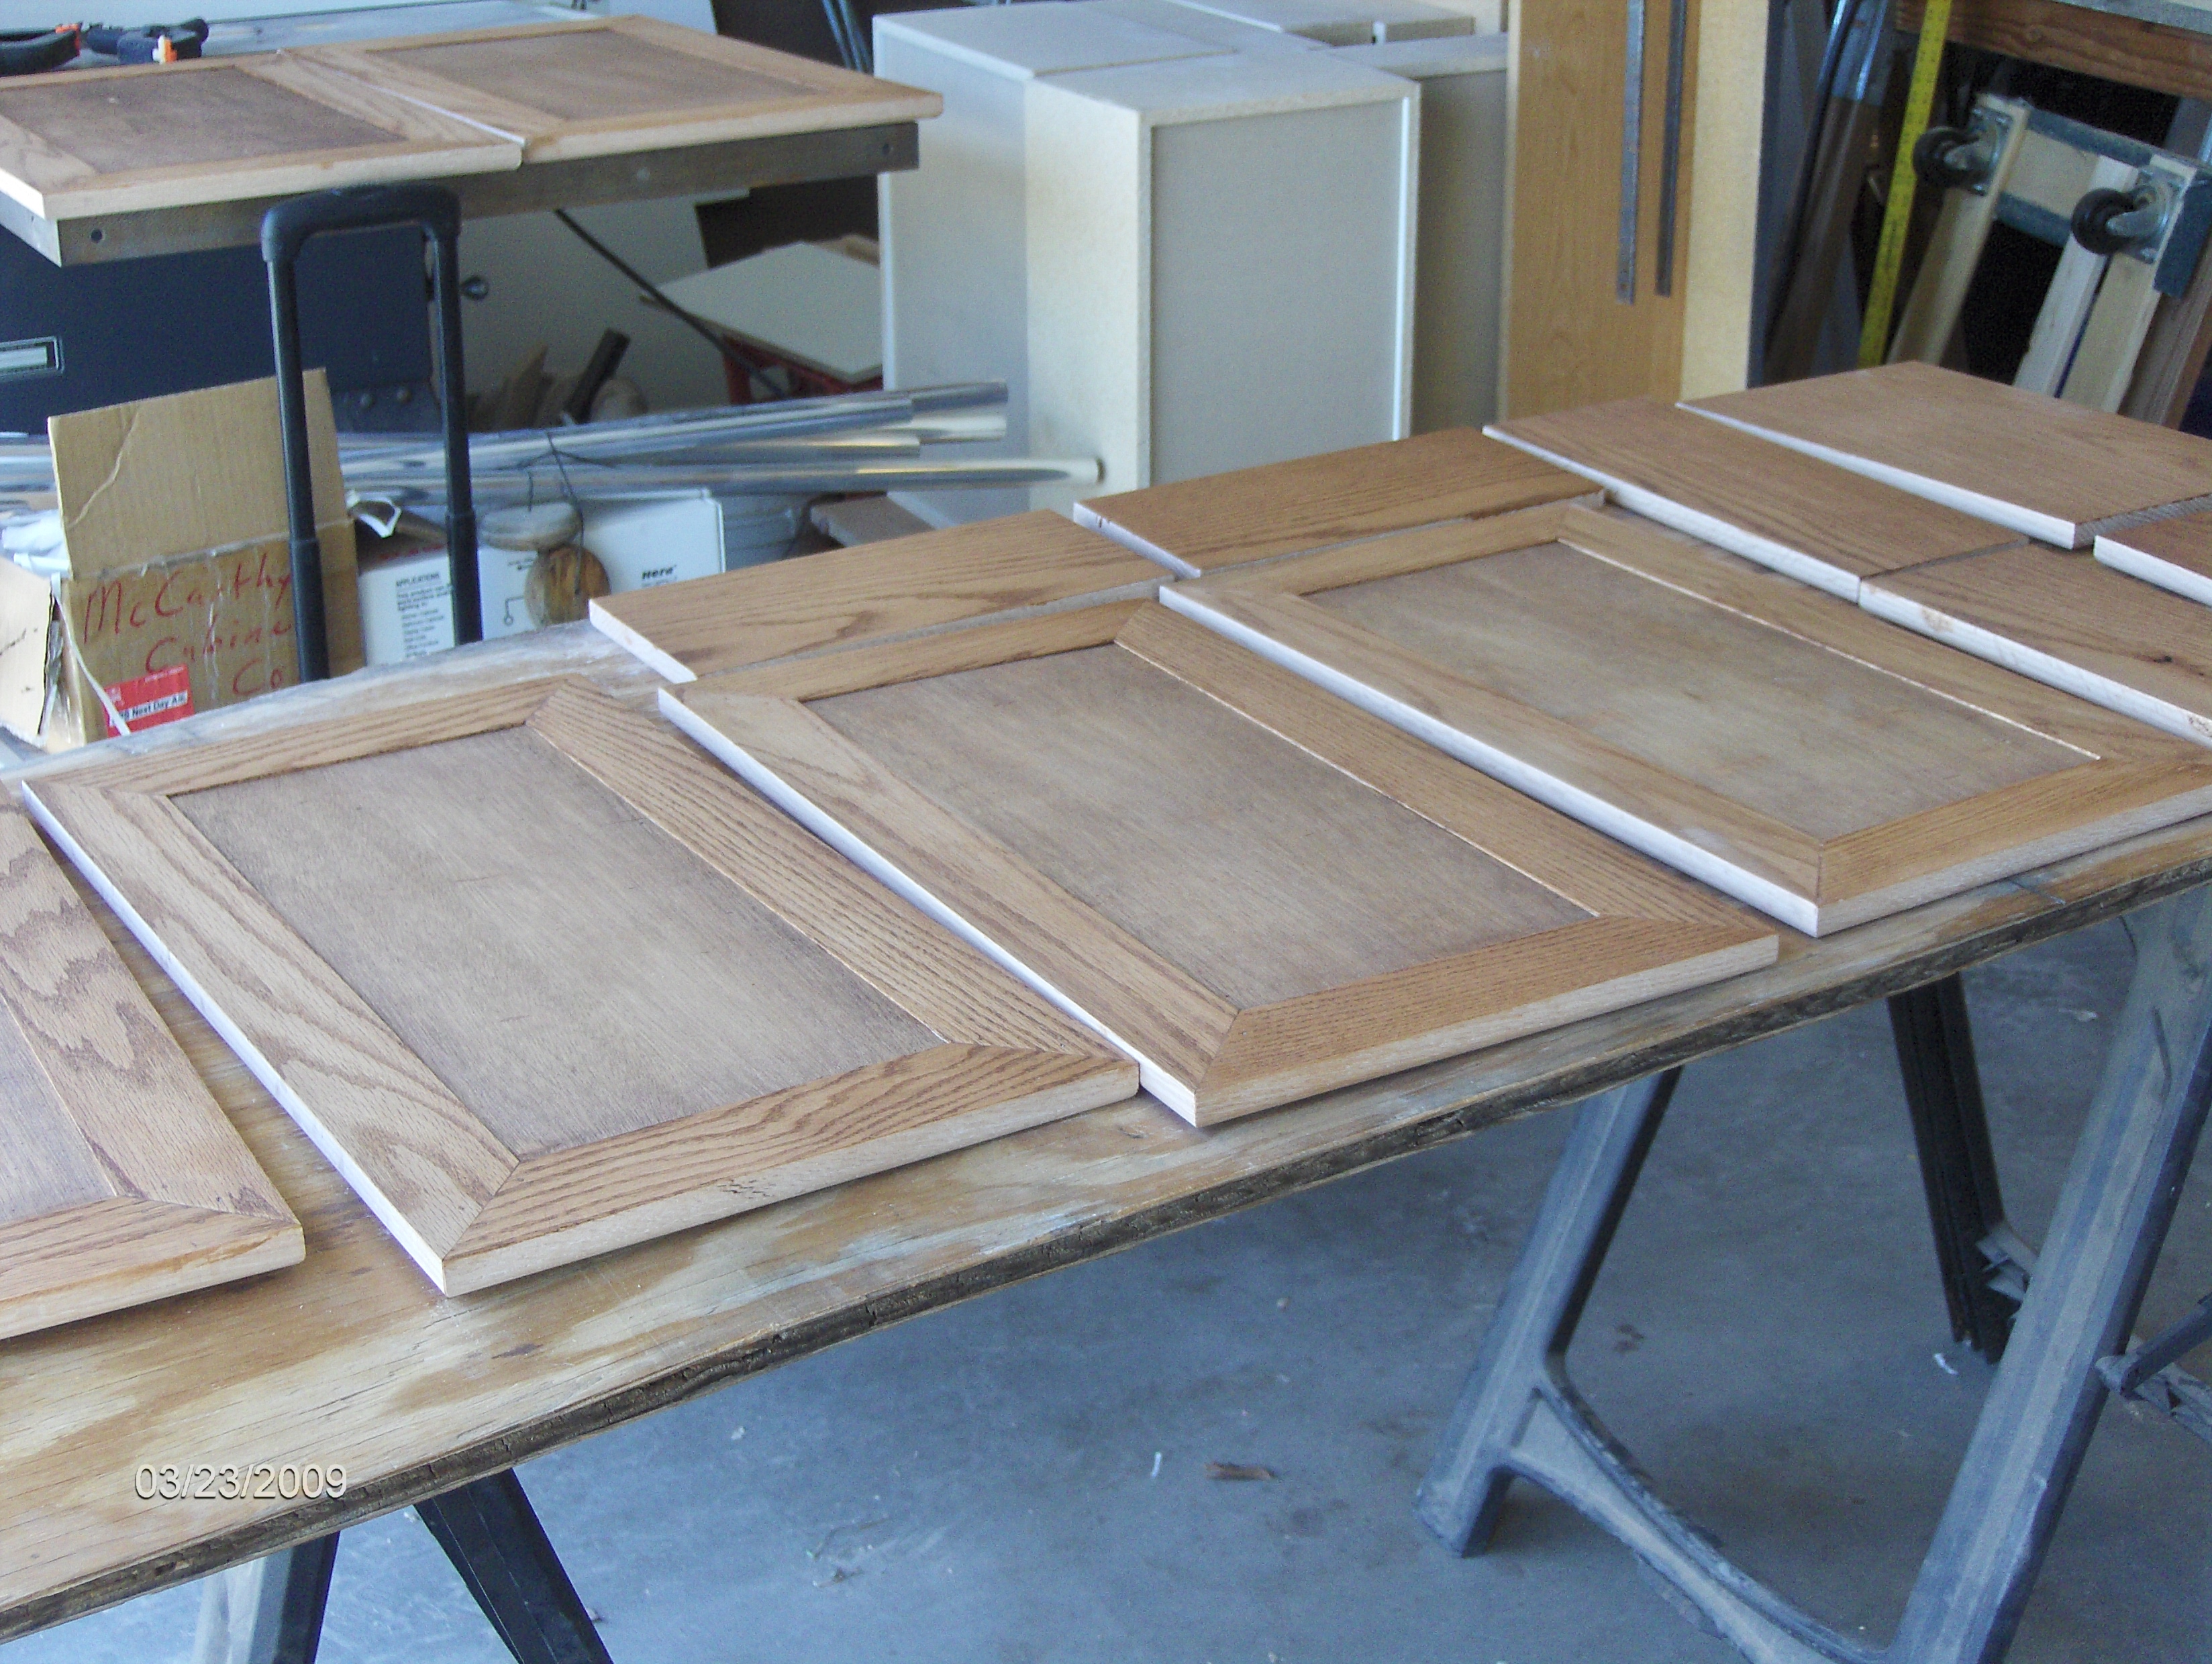
I am using Minwax English Chestnut on red oak for this project. It’s got good color, good coverage, and is kind of forgiving if you leave it on too long – you can do a little extra rubbing to pull some color out, as long as you aren’t trying to pull it ALL out – which makes it ideal for hand application.
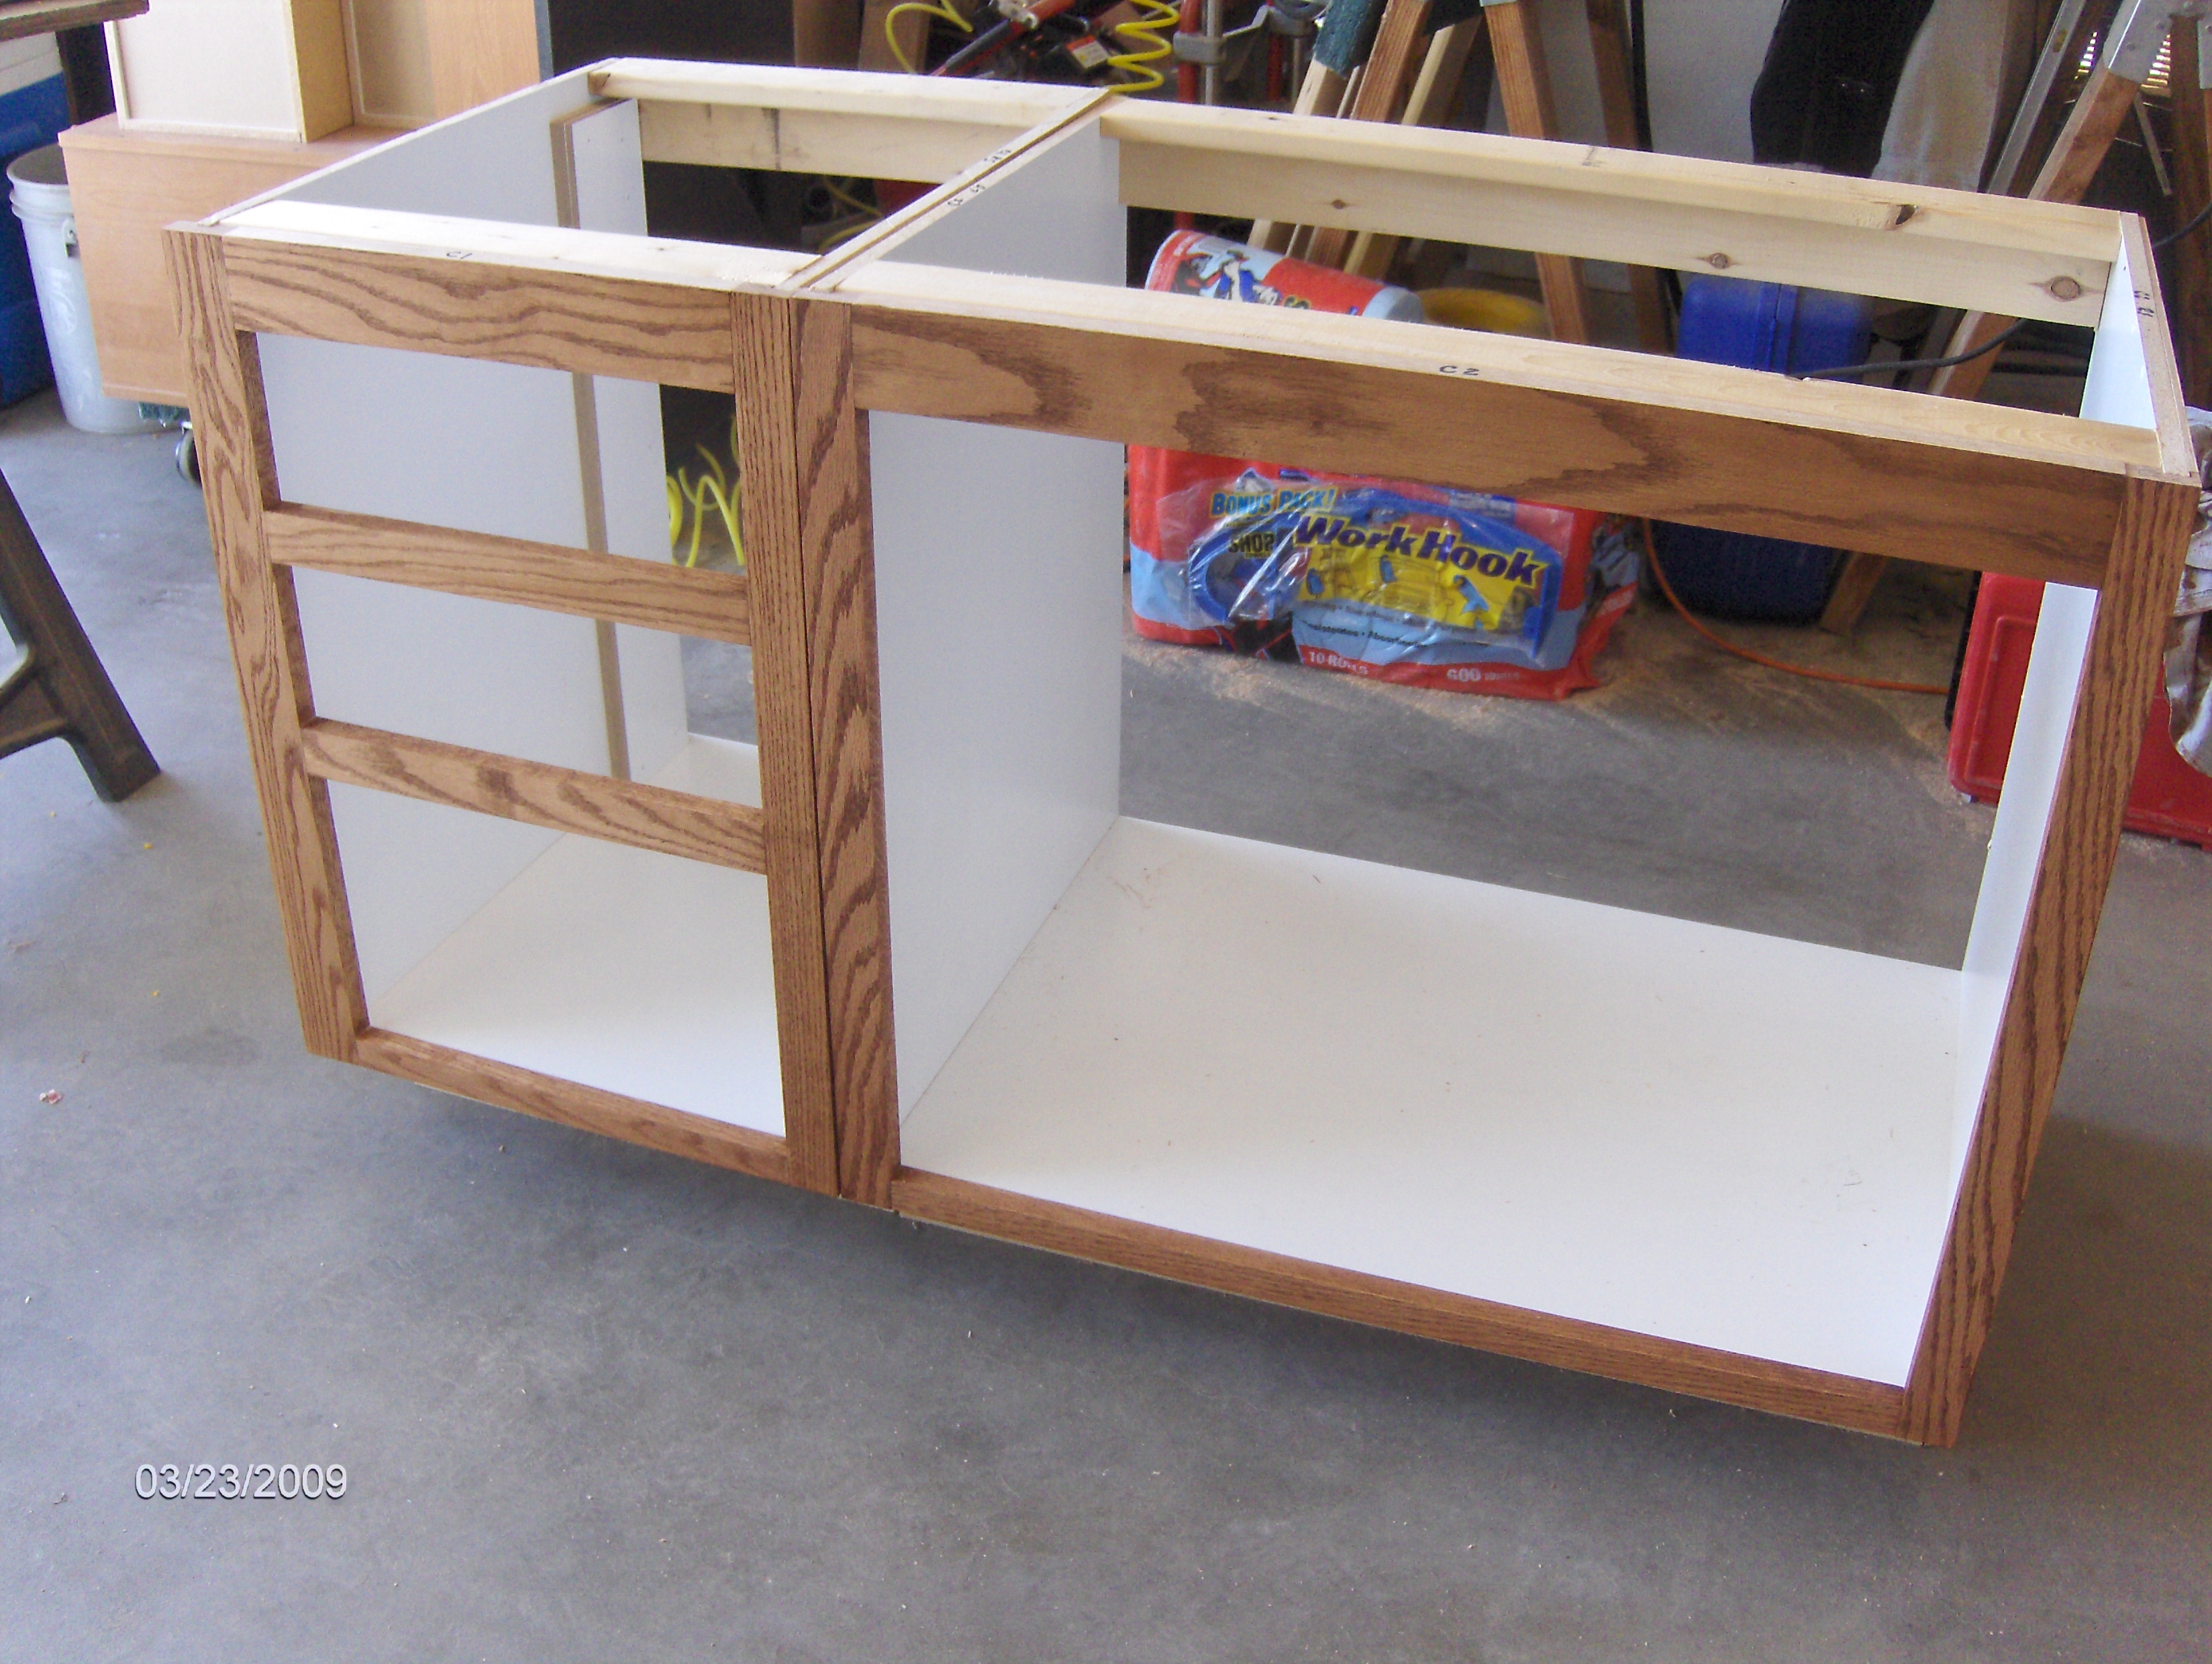
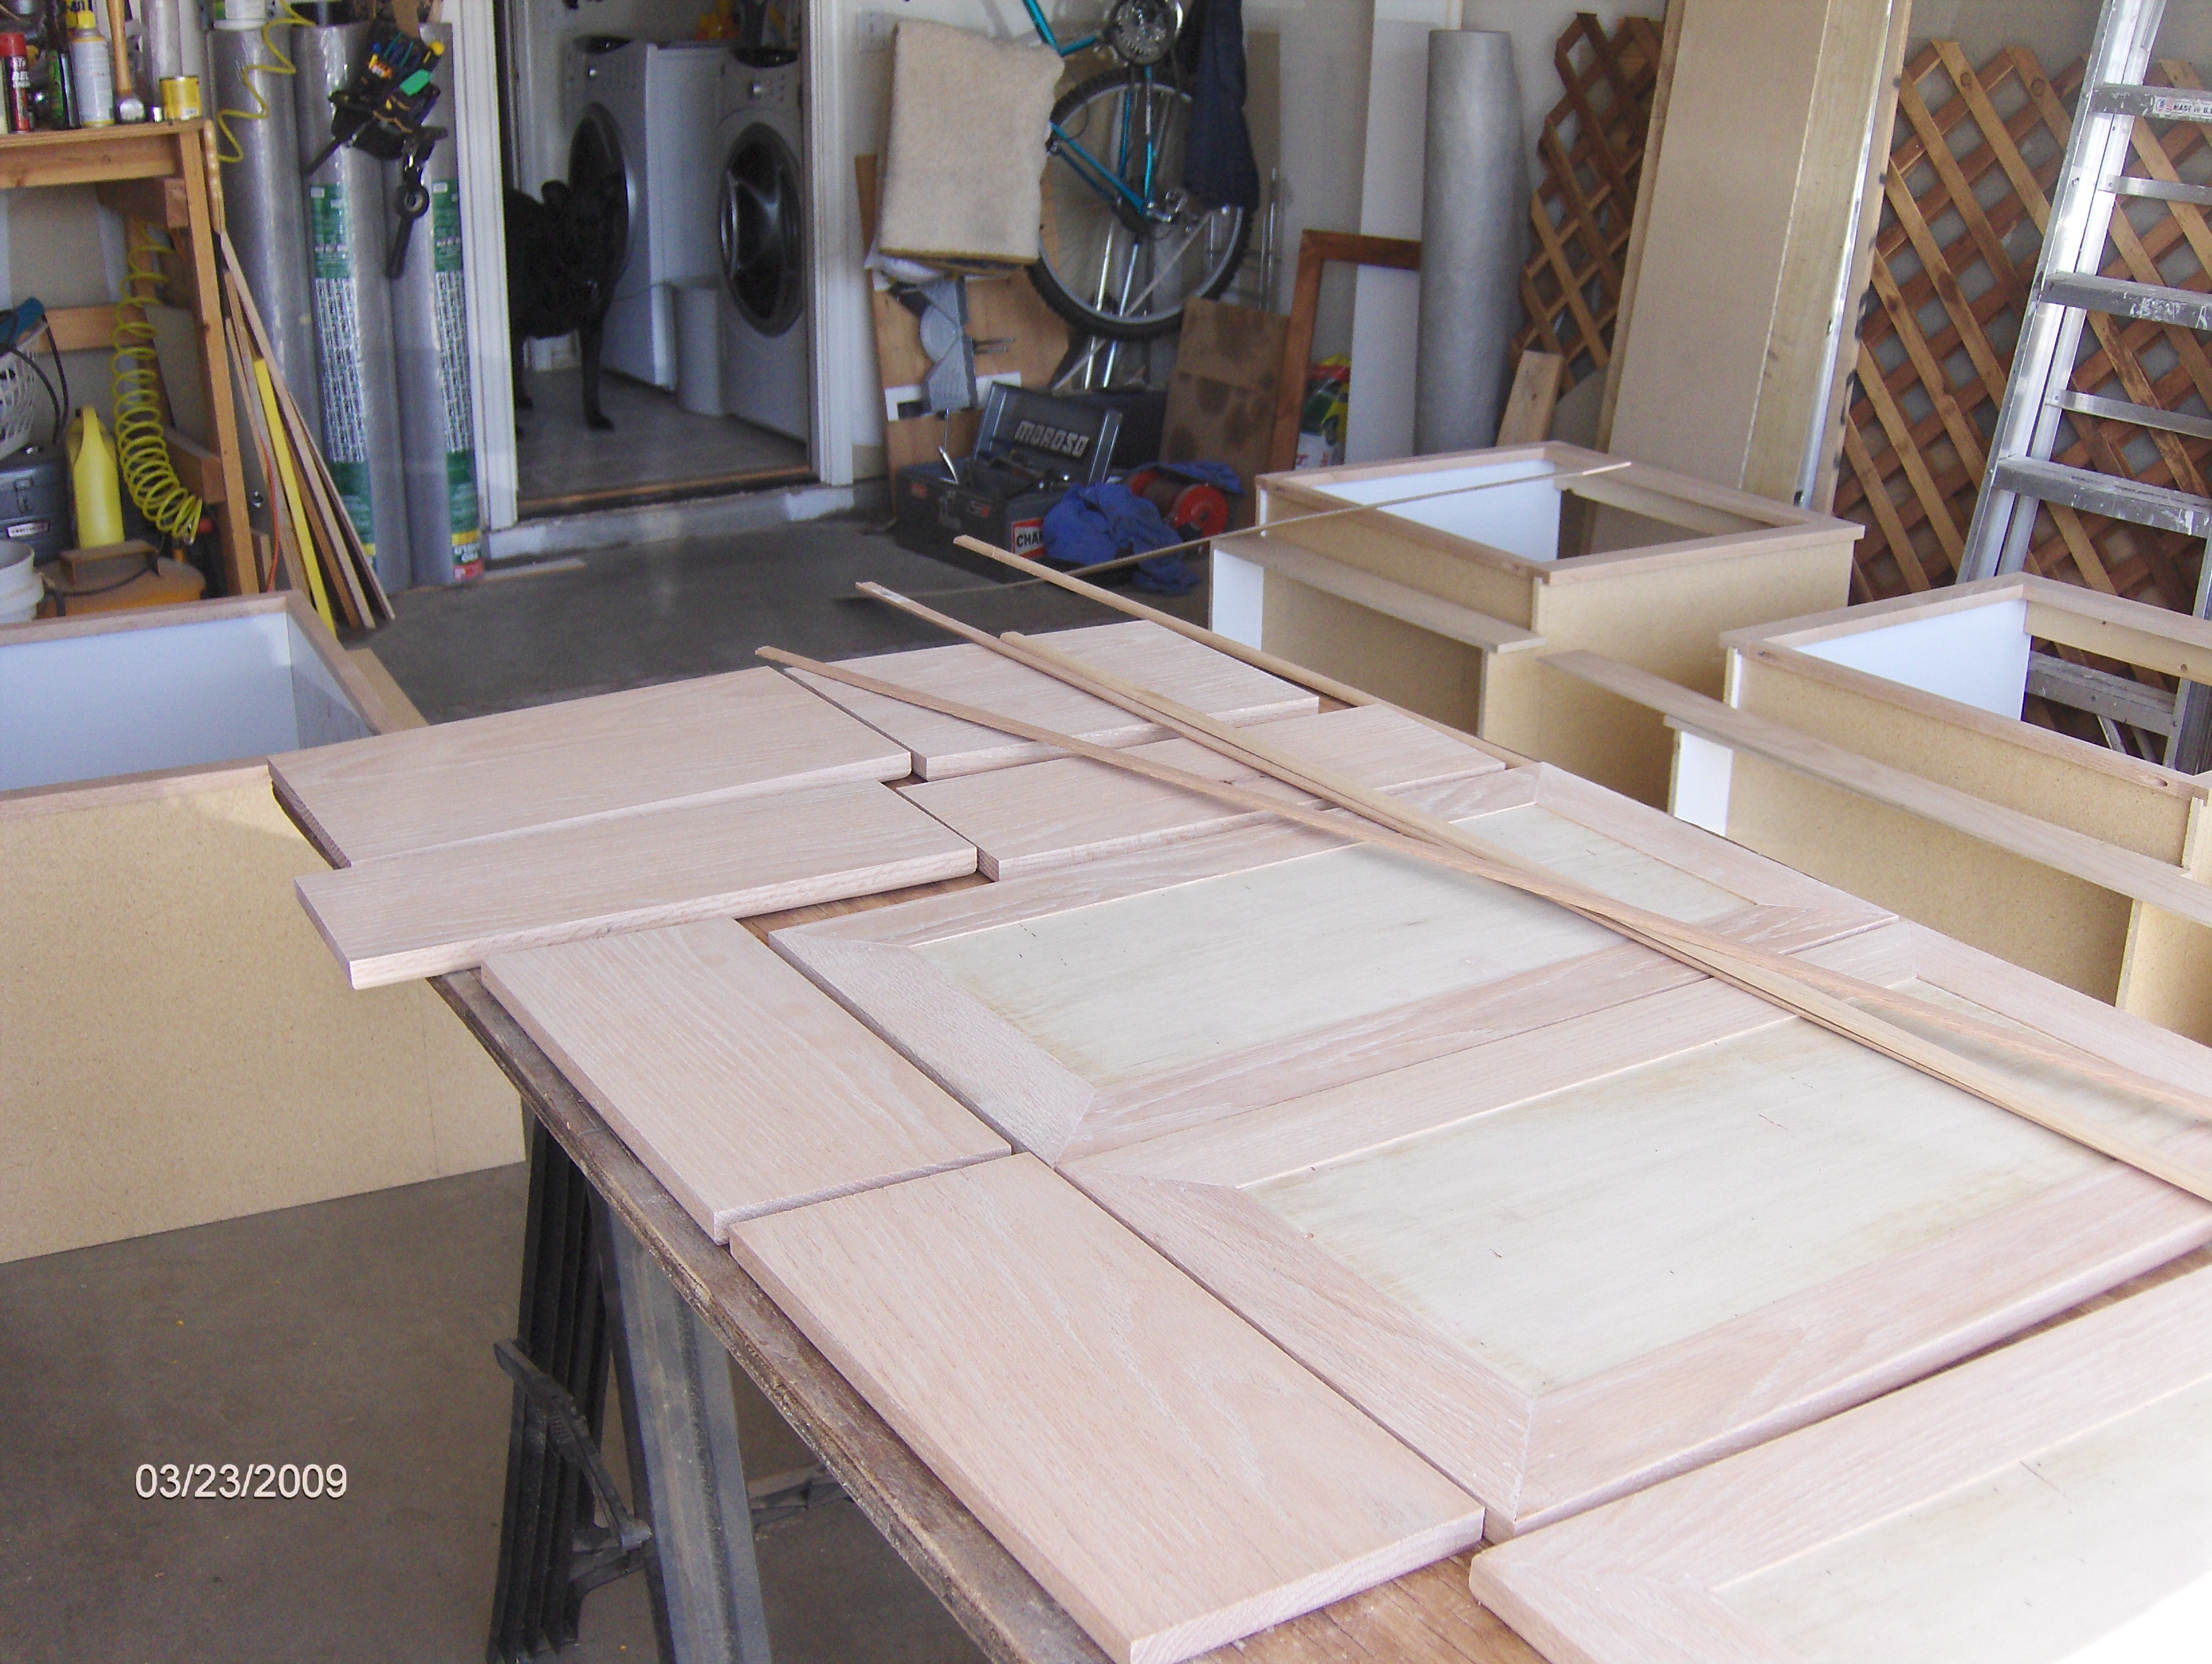
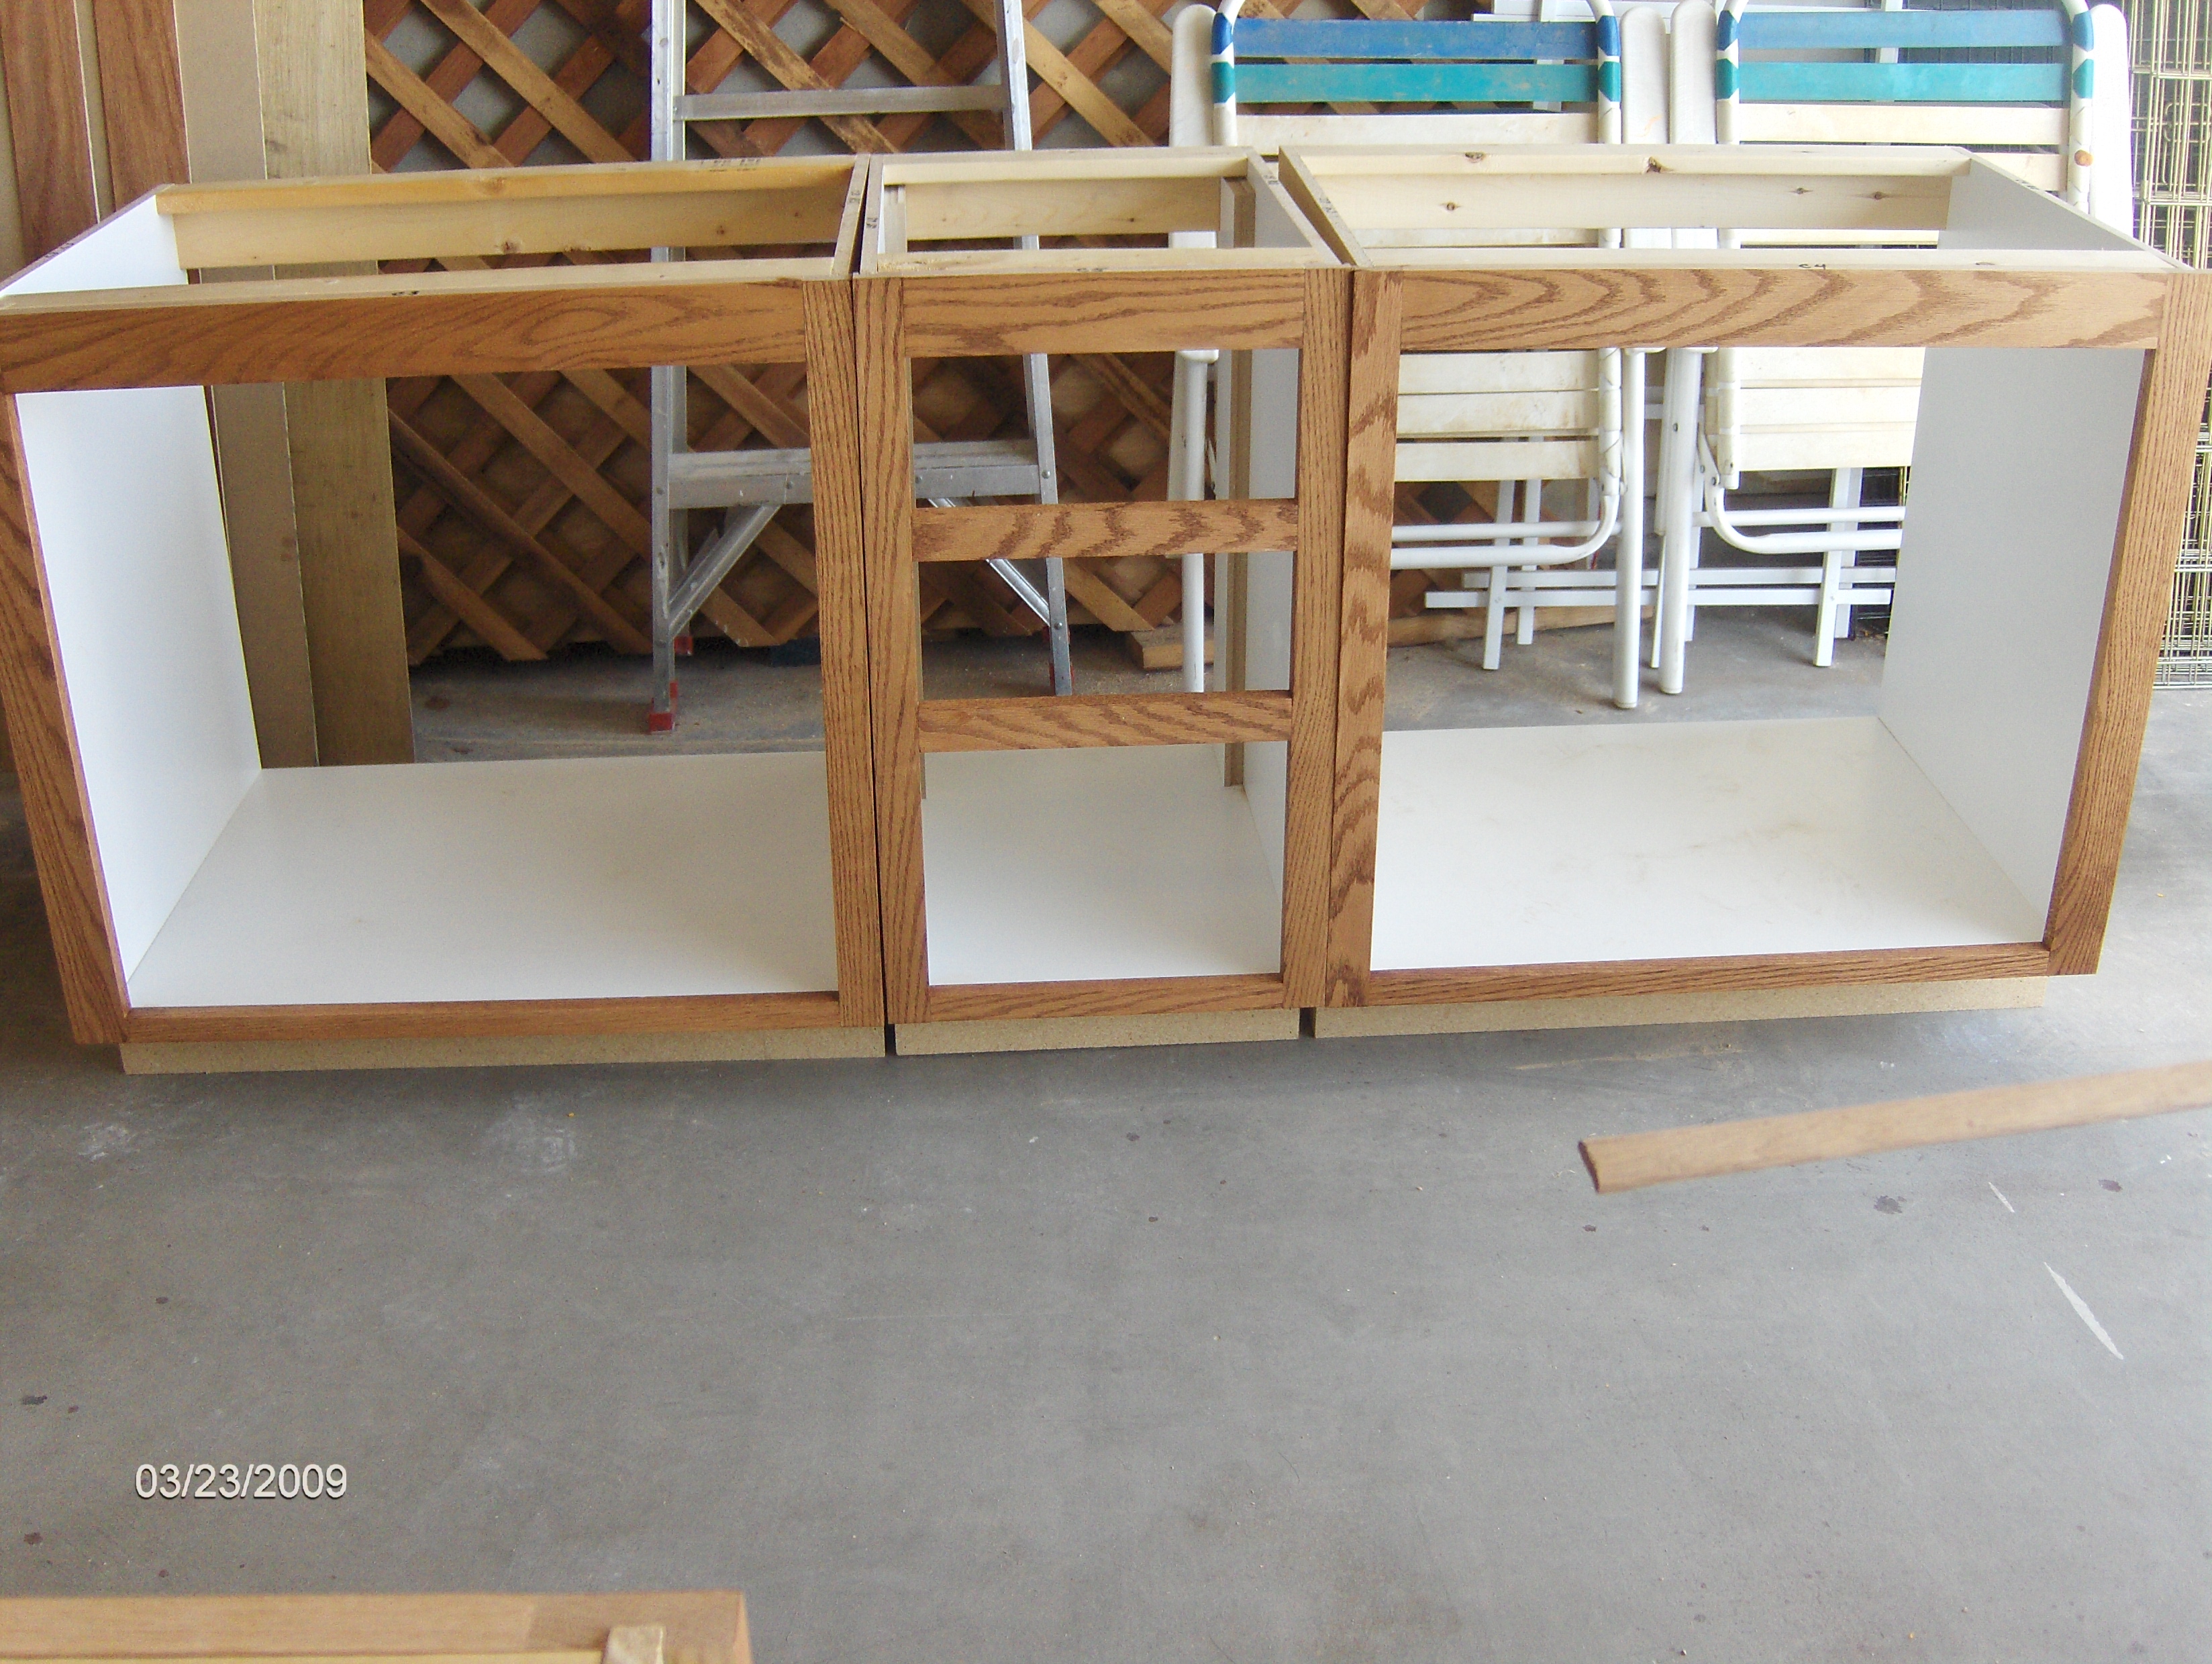
The sink bases are what is referred to as “linen” bases – there are no false fronts over the doors. Both doors and drawer fronts have a 1/2″ overlay to them, meaning the edges of the doors and drawer fronts overlap the openings by 1/2″ all around. The option was to have a larger overlay (probably 1 1/4″) and show even less of the beautiful oak frames.
The customer chose a flat panel door, and I fancied it up a bit with mitered corners. The inside profile is a Roman Ogee, about 3/8″, and the outer profile is a simple yet elegant 3/8″ round over. I used the round over on the outside edges of the drawer fronts also. The customer is picking out door and drawer pull or handle hardware, so I did not put a finger route or finger pull groove on the doors and drawer fronts.
The next set of pictures will have the doors hung and the drawers installed, for an almost-finished look. Just before I add the hardware, though, I will be using the Minwax Polyurethane clear semi-gloss spray as a top coat and to give the Chestnut just a bit of a glow.
Chat ya later…

Thank you for stopping by, In GOD We Trust, God bless you all, don’t buy or breed cats or dogs while homeless pets die (spay, neuter & adopt a pet, one by one, until there are none), Wear Red on Fridays, and support Warriors for Innocence!
Looks like you know what you’re doing, good work bro…
One of these days I’m going to have a ‘space’ big enough to get into similar projects.
For now it’s just watching ole Norm on the New Yankee Workshop lol.
Love that show.
Man, that’s beautiful. However, it always helps to have the proper TOOLS.
BZ
Gotta be satisfying. I envy you your talent.
Next time you find yourself with nothin’ to do, I want to talk to you about a project I’d like to see if you could do.
Gunz! Good to see you here! And, thanks for the kind words. I agree, Norm is fun to watch – and I pick up a lot of tips for handcrafted items from him, too.
BZ – that is too true. Without the items I have at my disposal, none of this would have been possible.
GB – it is satisfying.
Project? Really? Let me know, bro – I’m off to install this one this morning, and then after I clean up the “shop” I don’t have anything on the plate, woodworking wise. We’ll talk!